

How to Measure Hose Diameter Before Purchasing Clarke Hose Clips
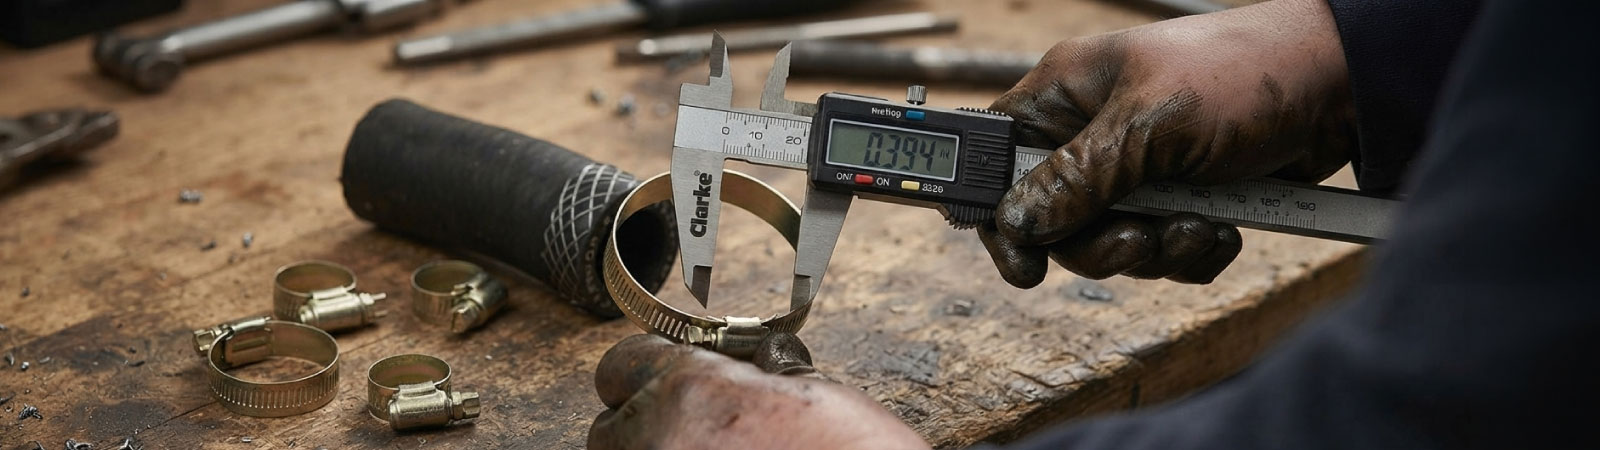
When selecting the appropriate hose clamp, the first thing to consider is that it is not simply a matter of finding a clamp that fits. There are numerous factors that play a significant role in determining which hose clamp is appropriate, such as the correct range of sizes, the proper force of clamping, and ensuring that the clamp is compatible with the hose's temperature, fitting, vibration, and operating environment. If a clamp is too large, there is a very high probability that the sealing force will be inadequate. Conversely, if a clamp is too small, it will not only be difficult to install but also present the risk of damaging the hose.
However, this is where it gets really interesting. It is relatively easy to select the correct hose. All you need to do is take note of the outside diameter of the hose and the fitting assembly as well.
Why the Outside Diameter Is the Number That Counts
Hoses are typically sold by internal diameter, such as a 3/4 inch hose, but a clip wraps around the outside. The wall thickness adds to the measurement, sometimes significantly on reinforced or braided hose. Clarke hose clips list a working range, for example 25-40mm, and that range refers to the diameter of whatever is being clamped. Therefore, the figure to compare against is the outer one, not the number printed on the hose.
What Is Needed
Nothing complicated:
* A flexible tape measure (the sewing kind works well), or a piece of string and a ruler
* Digital or vernier calipers, if a pair is available. Helpful, but not essential
* A pen and paper, since the number is easy to forget by the time the shop is reached
Step 1: Measure the Hose Itself
There are three simple ways to do it.
String. Wrap the string once snugly around the hose, mark where it overlaps, then lay it flat against a ruler. That gives the circumference. Divide it by 3.14 to get the diameter. A 94mm length of string, for example, works out to approximately 30mm.
Flexible tape. The idea is identical, except the circumference is read directly off the tape. Divide by 3.14 again.
Calipers.Close the jaws gently around the outside of the hose and read the display. Squeezing should be avoided, because rubber compresses and the reading comes out low. Hoses are not always perfectly round, so two readings taken at right angles, then averaged, provide a more accurate figure.
Step 2: Measure It Where the Clip Will Sit
This part is easy to overlook. A hose pushed onto a spigot, barb or pipe tail stretches slightly. A hose measuring 28mm loose can easily reach 31mm once fitted, and that is the diameter the clip actually has to close around.
Where possible, push the hose onto the fitting first and measure over the top. If that is not possible, as when purchasing ahead of a repair, add a couple of millimeters for stretch and lean toward a clip with some spare room in its range.
Step 3: Match the Measurement to the Clip Range
Next comes the range printed on the packaging. Take a hose that measures 32mm once fitted. A 25-40mm clip has its midpoint at 32.5mm, which is very close to ideal. A 30-45mm clip would technically fit, but it would sit near the bottom of its range, with a long tail of unused strap.
When a measurement falls between two sizes, the better pick is the clip where the number sits closer to the center. The extreme ends of a range are best avoided, because a clip working at its limit is the one that starts weeping after a few months of heat and vibration.
Common Mistakes to Avoid
Using the inside diameter. The clip requires the outer figure, wall thickness included.
Measuring a worn or flattened section. Old squashed hose provides a false reading. A healthy, round stretch is the one to measure.
Buying only one. Many joints require two clips, and a spare costs very little.
Ignoring the material.For outdoor, damp or engine bay use, stainless steel is worth the small additional cost. Plated mild steel rusts, and rusted screws are difficult to remove.
Over-tightening. A clip tightened too much can cut into soft hose. The goal is snug and even, not as tight as possible.
A Useful Cross-Check
When an old clip is being replaced, the band often has its size range stamped or printed on it. This provides a useful comparison against the new measurement. If the old clip was the wrong size to begin with, however, duplicating it only repeats the problem, so the tape measure should prevail in any disagreement.
Taking a quick photo of the measurement notes before proceeding to the checkout is also worth the few seconds. Aisles of near-identical packets make it very easy to second-guess a number.
Wrapping Up
Selecting the correct Clarke hose clips begins with one honest measurement: the outside diameter of the hose, taken where the clip will sit. Compare it with the range on the pack, aim for the middle, and choose a material that is appropriate for the conditions. Do that, and the joint will withstand the heat, vibration and wear it encounters.
Unsure which size or finish is appropriate for a specific application? Buyers in the UAE can bring their measurement to our store, and the team will verify it against the hose and fitting before directing them to the correct Clarke hose clips. The same shelves also contain the broader Clarke Tools product line, so the clips, the hose and the tools to install them can all be obtained in one visit.
Other Related Posts


